


Blog
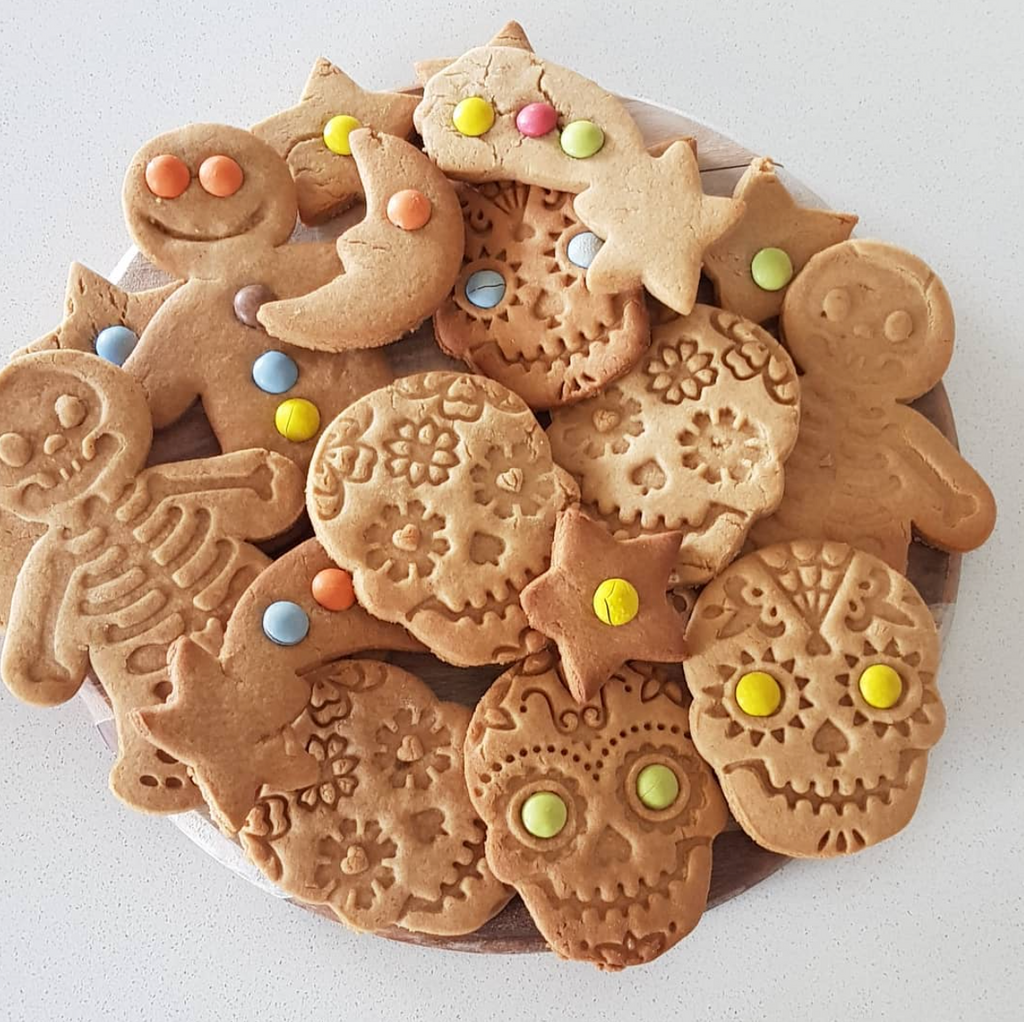

Lea's Gingy Bread! →
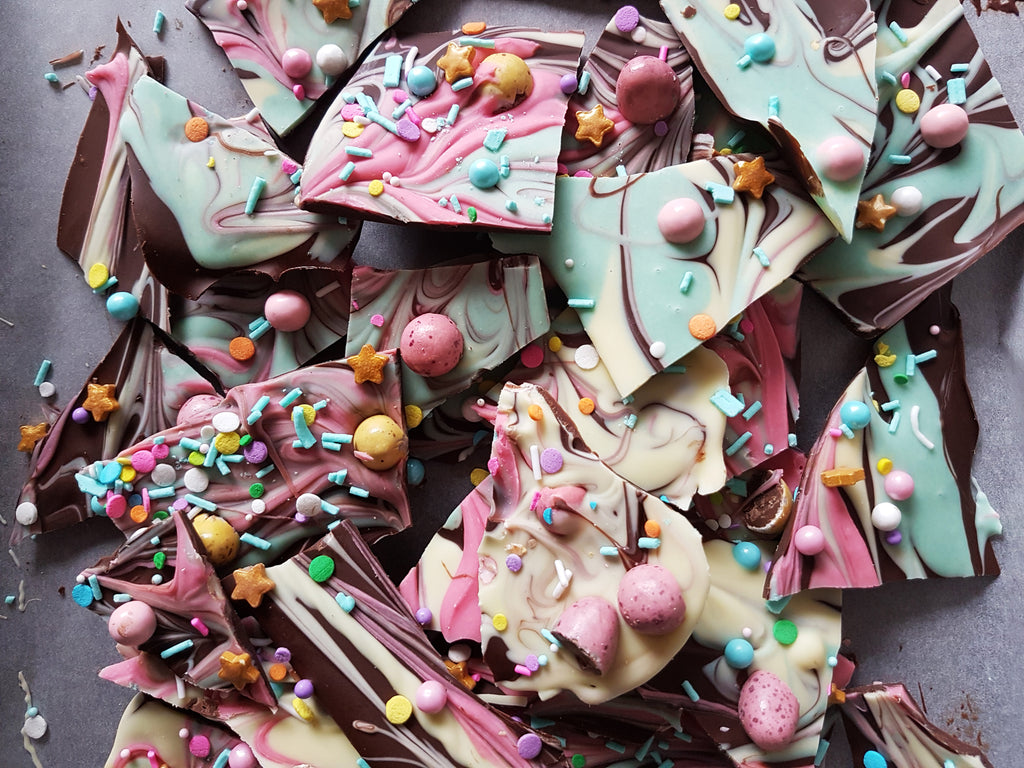

Get your Easter Bark on! →

Working from home - Covid-19 edition →
About Me
Muska & Elvis is a one lady show, based in the Illawarra NSW Australia - formerly a Sydney girl.
I have worked in the Design Industry for almost 22 years, in Packaging (FMCG included), POS, Logo Design, Advertising, Branding, Print, Outdoor, with many Domestic and International brands, as well as many local small business. I offer design / illustration / finished art services along side my products, I just love to be creating all the time.
If you would like to know more in depth about previous projects/clients and my skill set, please click 'Graphic Design Services above'
I work remotely as a Mumma of 3, giving parenthood all it has to offer, along with doing as much as I can of what I love. I hope you enjoy my products and my designs. If you think we may be a good fit for your next project, or you have a custom request, please don't hesitate to contact me.
Lea - Hello@muskaelvis.com